wrap installation process
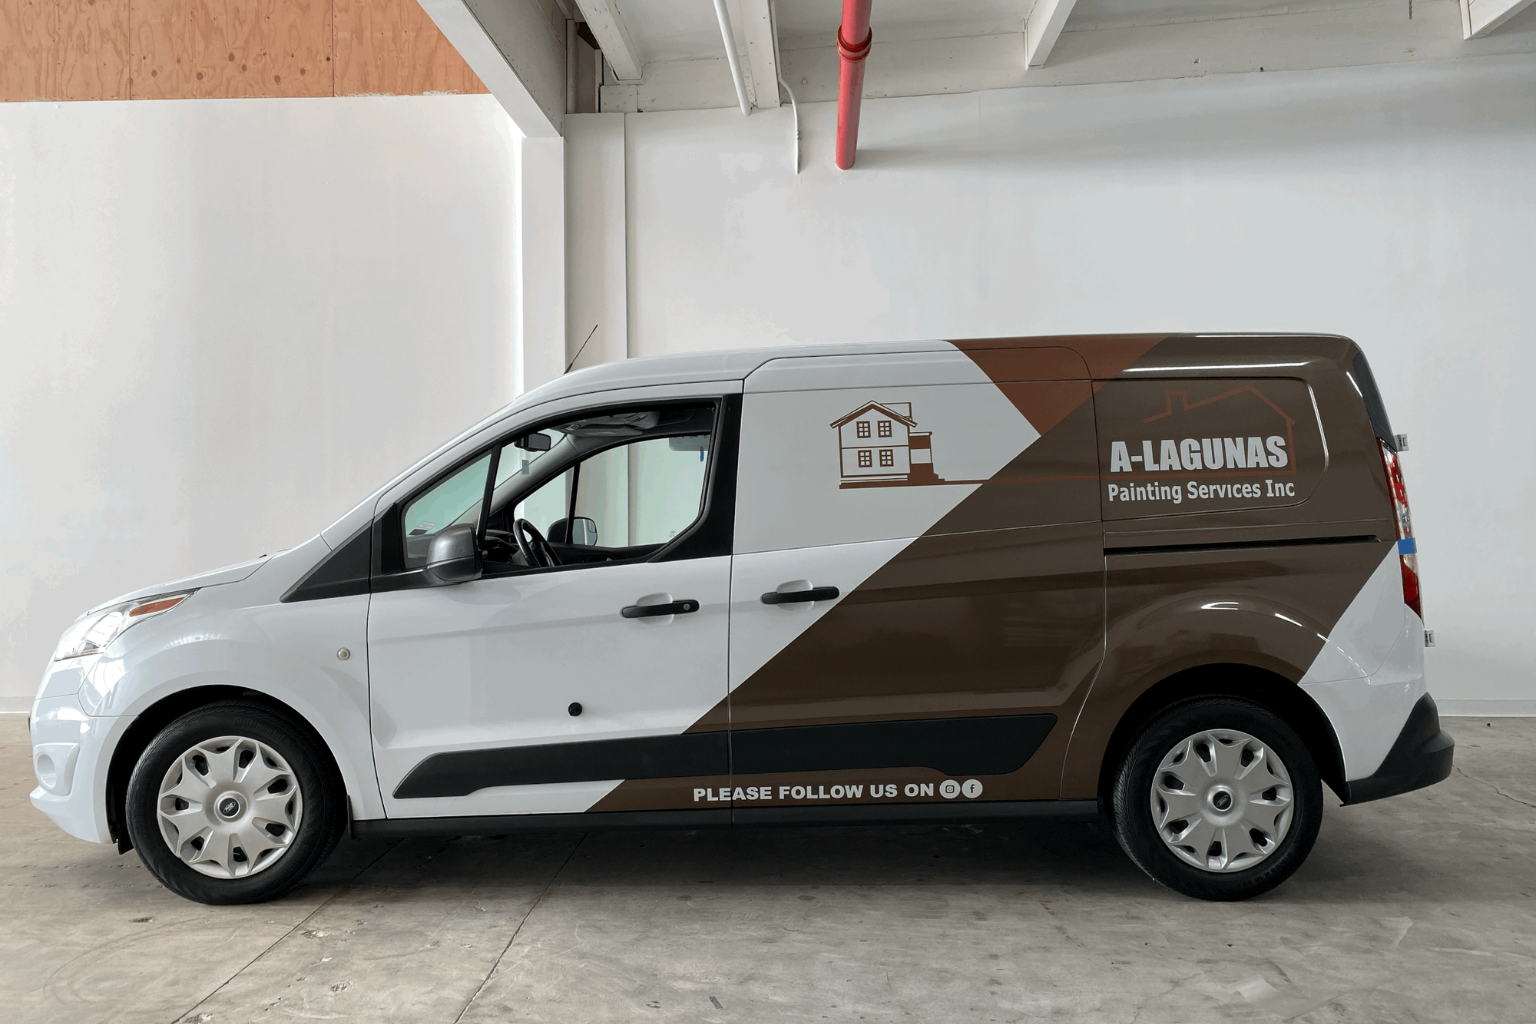
From the outside, a freshly wrapped vehicle looks almost effortless. Smooth edges. Perfect alignment. A finish so seamless it feels factory-made. But if you’ve ever wondered how that transformation actually happens, the answer is simple: patience, precision, and a lot of behind-the-scenes work.
Most people see the final result. Few see the hours leading up to it.
And honestly, the real magic isn’t just in the design. It’s in the preparation and execution.
It Starts Long Before the Vinyl Touches the Car
A professional wrap installation process doesn’t begin with laying down vinyl. It begins with planning.
Designers adjust artwork to match the exact contours of the vehicle model. Door handles, curves, seams, mirrors—every element must be considered. A graphic that looks great on a flat screen might distort awkwardly on a curved fender if not properly adapted.
Measurements are checked. Panels are mapped. Edges are accounted for. It’s meticulous work.
Then comes the most underestimated phase of all: cleaning.
The Importance of Surface Preparation
If there’s one step that determines the longevity of a wrap, it’s preparation.
Proper surface prep means more than a quick rinse at the car wash. Technicians thoroughly wash, degrease, and sometimes clay-bar the vehicle to remove contaminants invisible to the eye. Even tiny particles can create bubbles or prevent adhesion.
Old wax residue? Gone. Road grime? Removed. Any loose trim or badges that interfere with the wrap may be taken off temporarily.
Skipping preparation is like painting over dust—it might look fine for a week, but problems will surface.
The goal is a perfectly clean, smooth foundation. Because vinyl adheres best when nothing stands in its way.
Controlled Environment Matters
Temperature and humidity play a role too.
Professional installers typically work indoors, in climate-controlled spaces. Vinyl behaves differently depending on environmental conditions. Too cold, and it becomes stiff. Too hot, and it stretches too easily.
Consistency helps ensure precision.
This is one reason DIY wrap attempts sometimes fail. A driveway on a windy afternoon simply isn’t the same as a controlled shop environment.
The Application Begins
Once the vehicle is prepped and positioned, the vinyl application begins panel by panel.
The film is carefully aligned before any adhesive is fully activated. Installers often tack it lightly in place first, checking alignment multiple times before committing.
Heat guns and squeegees become essential tools. Heat softens the vinyl, allowing it to conform to curves and contours. Squeegees smooth out air pockets, ensuring tight adhesion.
There’s a rhythm to it. Apply. Smooth. Heat. Adjust.
The key is balance—stretching enough to fit curves without over-stretching and weakening the material.
Breaking Down the Installation Steps
While every vehicle presents unique challenges, most professionals follow consistent installation steps to maintain quality.
First, larger, flatter panels like doors and hoods are wrapped. These areas provide a stable starting point. Then come more complex sections—bumpers, mirrors, and recessed areas that require extra attention.
Edges are trimmed precisely. Seams are sealed. Corners are tucked carefully to prevent lifting over time.
Once all panels are applied, the entire vehicle undergoes a post-heating process. This step activates the adhesive fully and helps the vinyl “set” into its new shape.
It’s not rushed. It can’t be.
Attention to Detail Makes the Difference
One of the most impressive aspects of professional installation is the detail work.
Door handles are wrapped smoothly. Emblems are reattached precisely. Edges are inspected thoroughly.
Even something as small as a misaligned stripe can throw off the entire visual balance.
Installers often step back repeatedly, viewing the vehicle from multiple angles to ensure alignment and symmetry.
Because in the end, it’s those details that separate a good wrap from a great one.
Curing and Aftercare
After installation, the vehicle isn’t quite ready for harsh conditions immediately. Most professionals recommend avoiding washing for several days to allow the adhesive to cure fully.
Hand washing with gentle soap is typically advised. Automatic car washes, especially those with abrasive brushes, can shorten the lifespan of the wrap.
With proper care, high-quality vinyl can last several years before needing replacement.
Why Professional Installation Is Worth It
Watching online tutorials might make wrapping look straightforward. And technically, it’s possible to attempt it yourself.
But vehicles aren’t flat surfaces. They’re full of curves, seams, and complex shapes. One small mistake can mean wasted material and visible flaws.
Professional installers bring experience. They understand how vinyl behaves under heat, how to prevent overstretching, and how to seal edges properly.
It’s not just about sticking film onto metal—it’s about ensuring durability and aesthetics for the long haul.
Final Thoughts: Craftsmanship You Can’t Always See
When you see a beautifully wrapped vehicle cruising down the road, it’s easy to assume the transformation happened quickly.
But the truth is, what you’re seeing is the result of careful planning, thorough preparation, and precise execution.
From deep cleaning to final inspection, every stage of installation contributes to the final product.
And that’s the beauty of it.
The craftsmanship isn’t loud. It doesn’t demand attention. But it’s there—quietly holding everything together, mile after mile.